How to create and manage poses
Set up the poses clients use for progress photos in CoreCoach.
Written By Jacob Elliott
Last updated 1 day ago

Poses define the photos you want clients to take for progress check-ins (for example front, side and back). You attach poses to a Photo-type habit. See How to assign check-in photos to your client.
Create a pose
In the left menu, open Clients and click Poses.
Click + New pose in the top right.
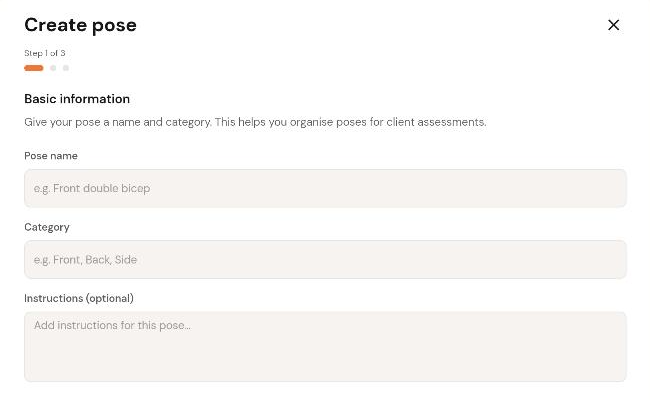
Enter a Pose name (for example "Front relaxed"), a Category (for example Front, Back or Side) and optional Instructions the client sees when taking the photo. Click Next.
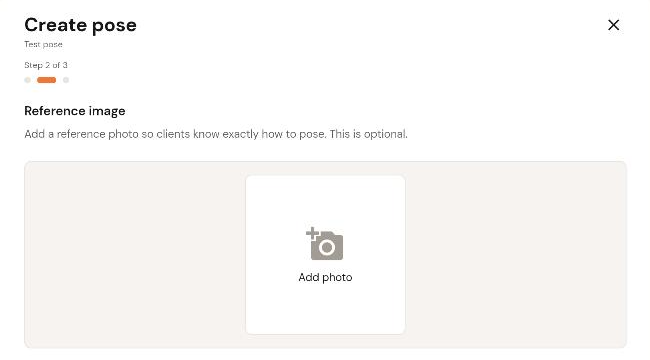
Optionally click Add photo to upload a Reference image that shows the client how to pose. Click Next.
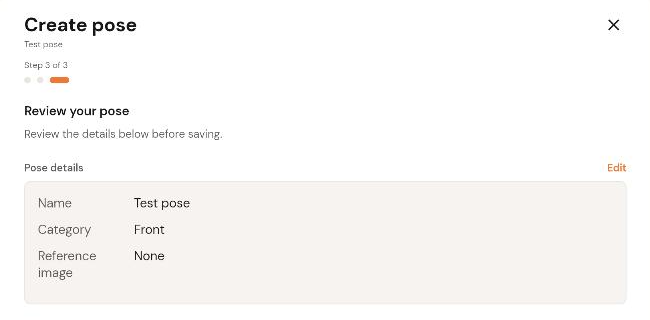
Review your pose and click Create pose. Use Edit to go back first if something is wrong.
Edit, duplicate or delete a pose
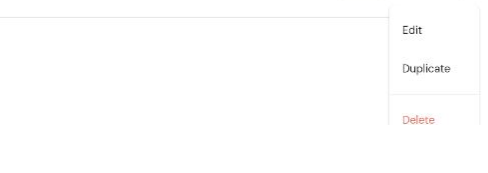
In the Poses list, click the three-dot menu at the right of the pose's row and choose Edit, Duplicate or Delete.