Coach quick start guide
The setup order for a new CoreCoach coach account, with links to each step.
Written By Jacob Elliott
Last updated About 17 hours ago
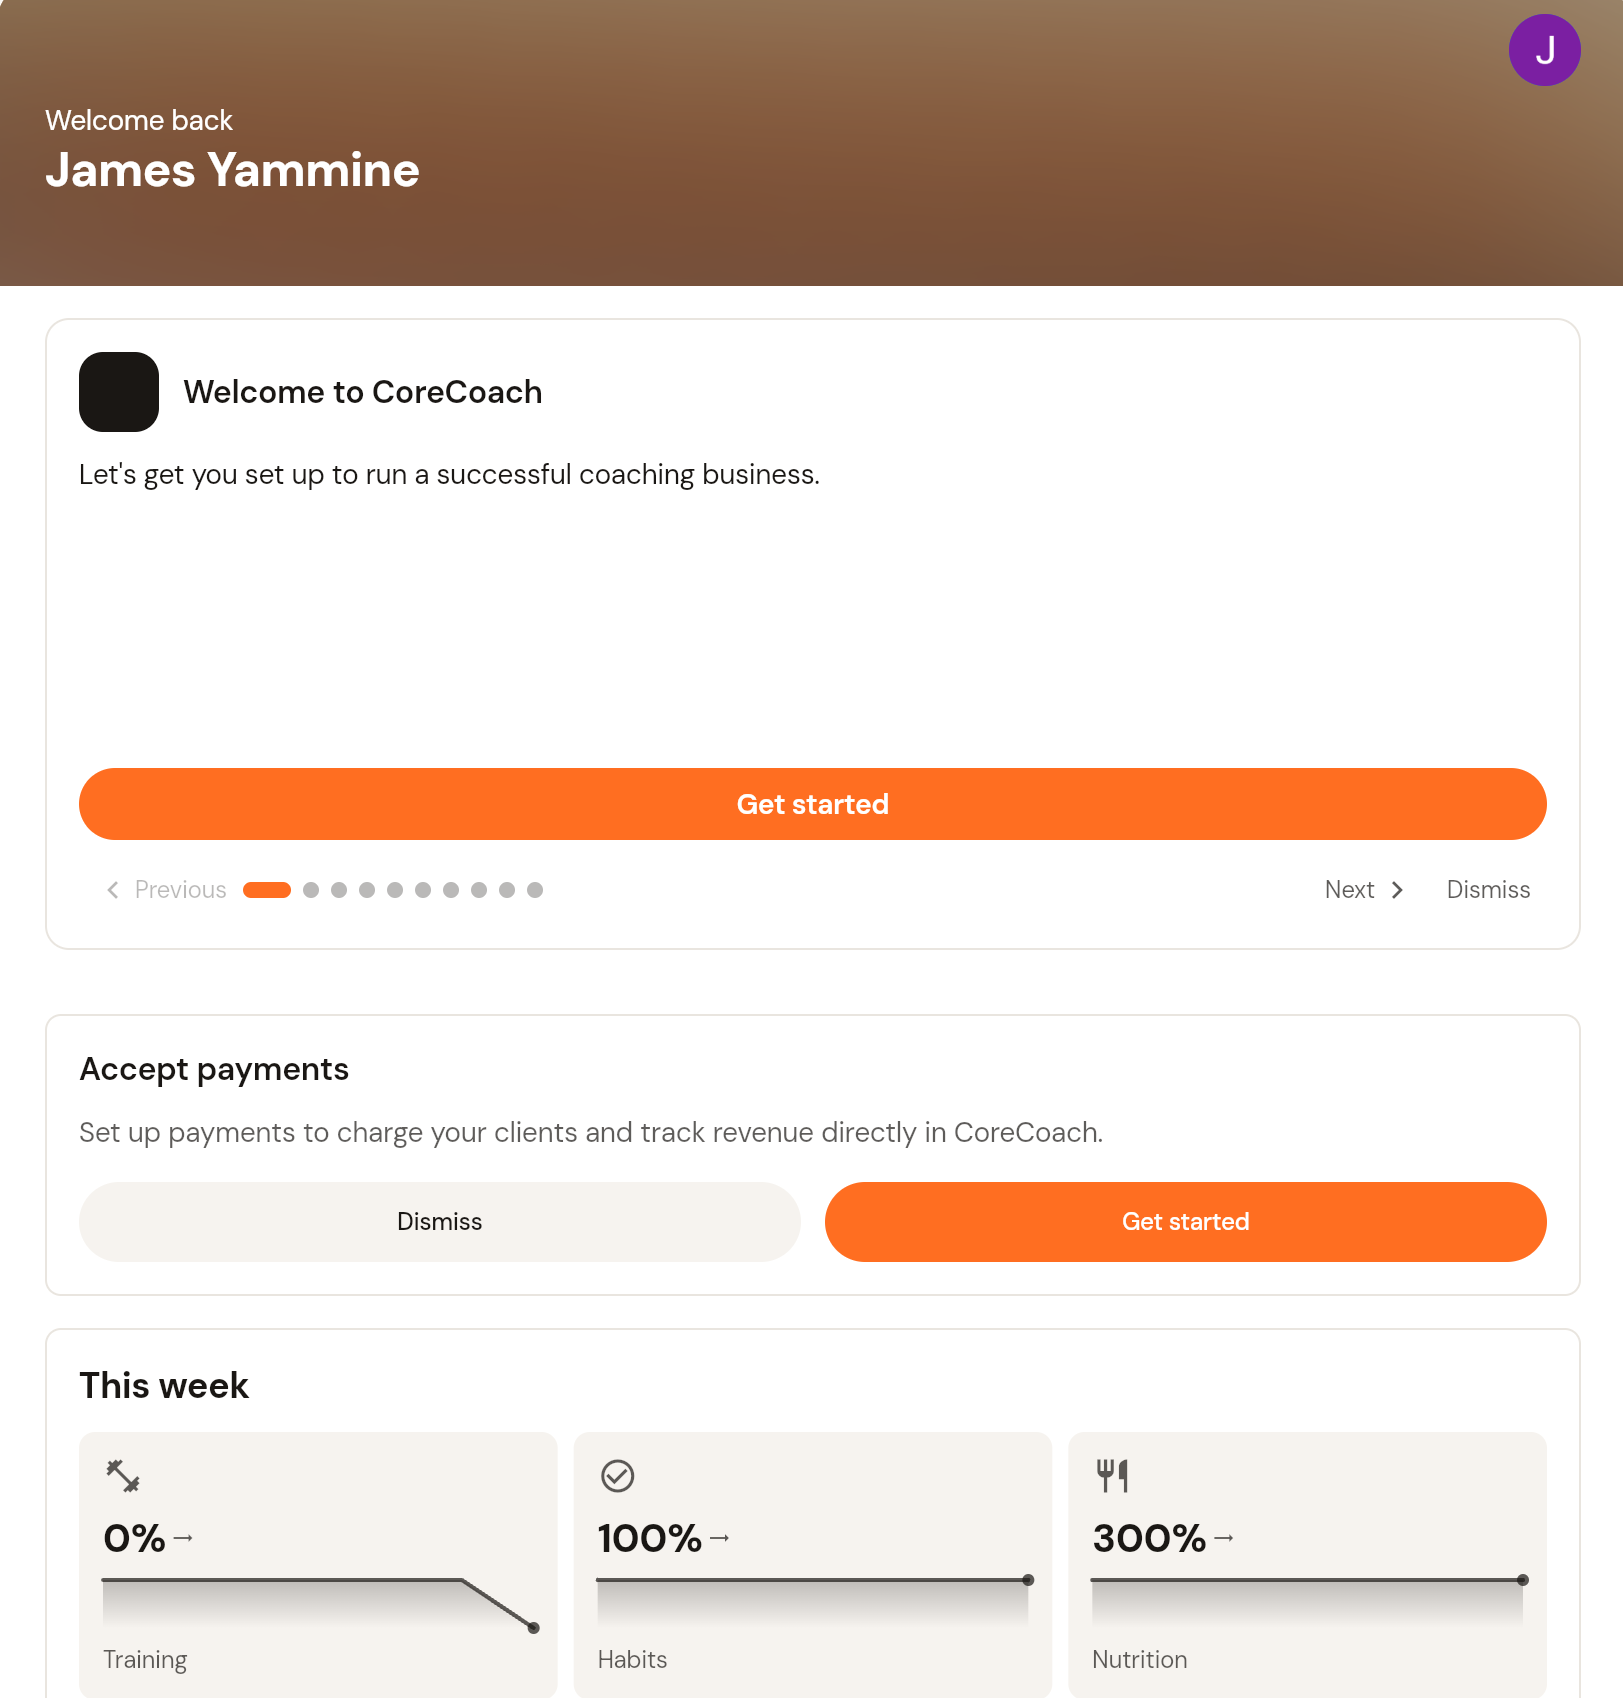
This is the order to set up a new CoreCoach account. Each step links to the full guide. The web app is laid out down the left menu: Home, Clients (clients, habits, forms, metrics, poses), Training (programs), Nutrition (plans, foods, recipes, meal plan templates), Business (coaching, team, services, content vault, automations), then Profile and Settings at the bottom.
1. Set up your profile and brand
Click Settings to edit your profile, choose measurement system, date format and week start, and set your brand colour, logo and header. See How to edit your profile and How to set up white labelling.
2. Add your first client
Go to Clients and click + Add client. Add one client by email or several at once with the Bulk tab. See How to add your first client.
3. Build and assign a program
Go to Programs, create a program made of blocks and training days, then assign it to the client. See How to create and assign a program, How to build a training day and How to assign a program to your client.
4. Create a nutrition plan
Go to Nutrition > Nutrition plans and build a plan for the client. Add your own foods and recipes if you need them. See How to create and assign a nutrition plan, How to create a custom food and How to create a custom recipe.
5. Add habits
Go to Clients > Habits. Create habit templates (check-in, metric, form or photo) and assign them, or group them into a habit plan. See Overview of habits, How to create a habit and How to assign a habit to your client.
6. Message clients
Go to Coaching > Chat. See How to create a chat with your clients.
7. Connect Stripe and create a service
Go to Services > Payouts and click Link with Stripe. Until Stripe is connected you can only create free services. Then create your first service under Services. See How to connect your Stripe account and How to create a service.
8. Turn on automations
Go to Automations and switch on the rules you want, such as a notification when a client skips a workout. See How to set up automations.
Adding coaches to your team
If other coaches will work under your account, see How to add and manage team coaches.